
Planning a Multi-Location Digital Signage Rollout: From Pilot to Hundreds of Screens
A step-by-step plan for multi-location digital signage — goals, site surveys, hardware standards, pilot, content governance, installation and operations.
On this page
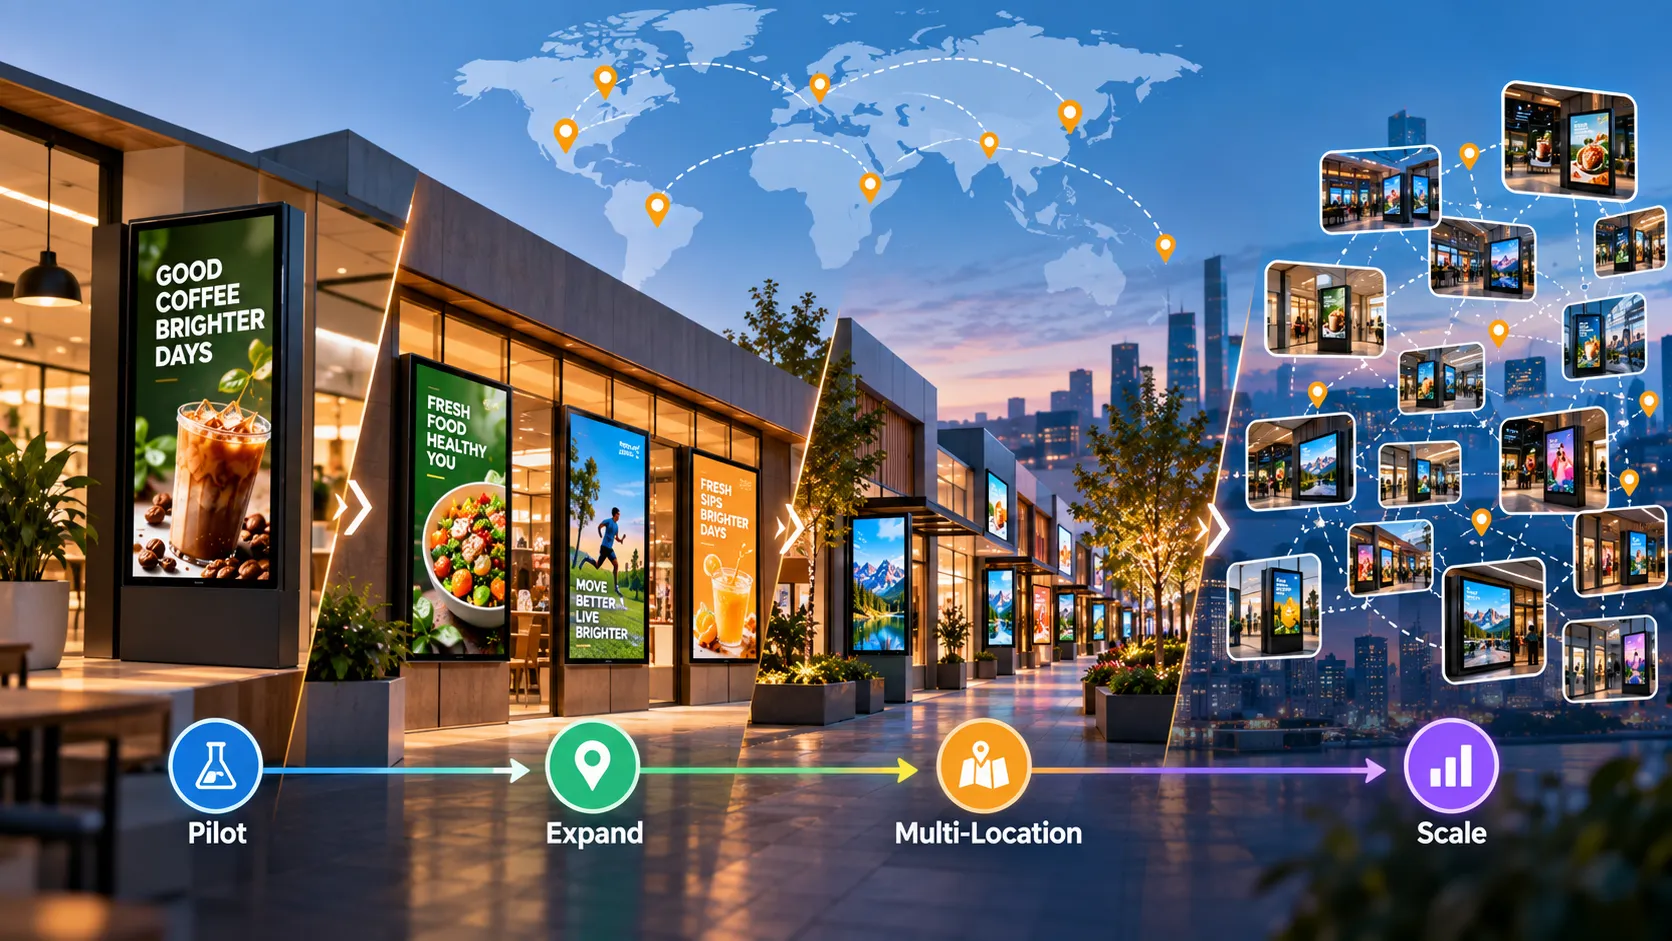
A multi-location digital signage rollout is a project, not a purchase. The networks that run smoothly for years are the ones that started with clear goals, a small pilot and a repeatable installation — then scaled in waves.
1. Define what success looks like
Write down what the screens are for before you choose any hardware:
- Sell more — promotions, upsells, new products.
- Inform — wayfinding, queues, hours, safety.
- Save cost — less printing, fewer store visits.
- Engage staff — internal comms, targets, recognition.
Pick one or two primary goals and a way to measure them. Everything else follows.
2. Survey your locations
For each site type, record:
- Where screens will go and the viewing distance at each spot.
- Light levels — especially windows and atriums.
- Power and network points, and whether wired ethernet is available.
- Wall construction and mounting constraints.
- Who on site will be the local contact.
Group locations into a few site templates — “high-street store”, “mall kiosk”, “flagship” — rather than planning each one from scratch.
3. Standardise hardware
Approve a short list of screens and players for each template. Standardisation means:
- Spares that fit any site.
- One set of installation instructions.
- Predictable playback behaviour.
Loopvew runs on Android, Windows, Linux, Samsung Tizen and LG webOS, so you can standardise on what suits your estate — and mix platforms where you must. See platforms and choosing a media player.
4. Run a pilot
Choose one to three representative locations and run them for several weeks. Test the things that break at scale:
- Power loss — does every screen come back to content by itself?
- Network loss — does cached content keep playing, and do changes sync afterwards?
- Scheduling — do dayparts switch at the right local time?
- Content — is it readable in real lighting from real distances?
- Operations — can head office see status and screenshots for every screen?
Fix what you find before the next wave. Loopvew’s first three screens are free, which covers a small pilot.
5. Set up content governance
Decide who owns what, before there are hundreds of screens:
| Owner | Content | Screens |
|---|---|---|
| Head office / marketing | Brand campaigns, national promotions | All customer-facing groups |
| Regional managers | Regional offers | Regional groups |
| Store / site leads | Hours, local events, stock | Their site’s group |
| Operations | Dashboards, staff comms | Back-of-house groups |
Build the matching groups in the CMS so each owner publishes only where they should. Read playlists and scheduling for group patterns.
6. Document the installation
Turn the pilot into a one-page install runbook per site template:
- Mounting height and position.
- Cabling and power.
- Player installation and screen naming convention (for example, city–store–placement).
- Pairing: the installer enters the 6-digit code shown on screen into the CMS, or reads it to head office.
- A test publish and a photo of the finished screen.
7. Roll out in waves
Deploy in batches — ten or twenty locations at a time — and review after each wave. Issues found in wave two are cheap; issues found after wave ten are not.
8. Operate the network
Once live, the work shifts to operations:
- Check online/offline status daily.
- Use remote screenshots to confirm campaigns went live.
- Reboot remotely before sending anyone on site.
- Schedule screens off out of hours to save power and extend panel life.
See how to manage screens remotely.
Budget for the whole lifecycle
Include hardware, installation, content production and software over at least three years. Loopvew pricing is per screen with volume discounts from 11 paid screens and custom pricing above 100 — see pricing and our cost breakdown.
Planning a larger network? Talk to us about your rollout.
Written by the Loopvew TeamThe people who build and support Loopvew's digital signage CMS and players. About Loopvew
Frequently asked questions
Keep reading.
More from the guides, picked by topic.
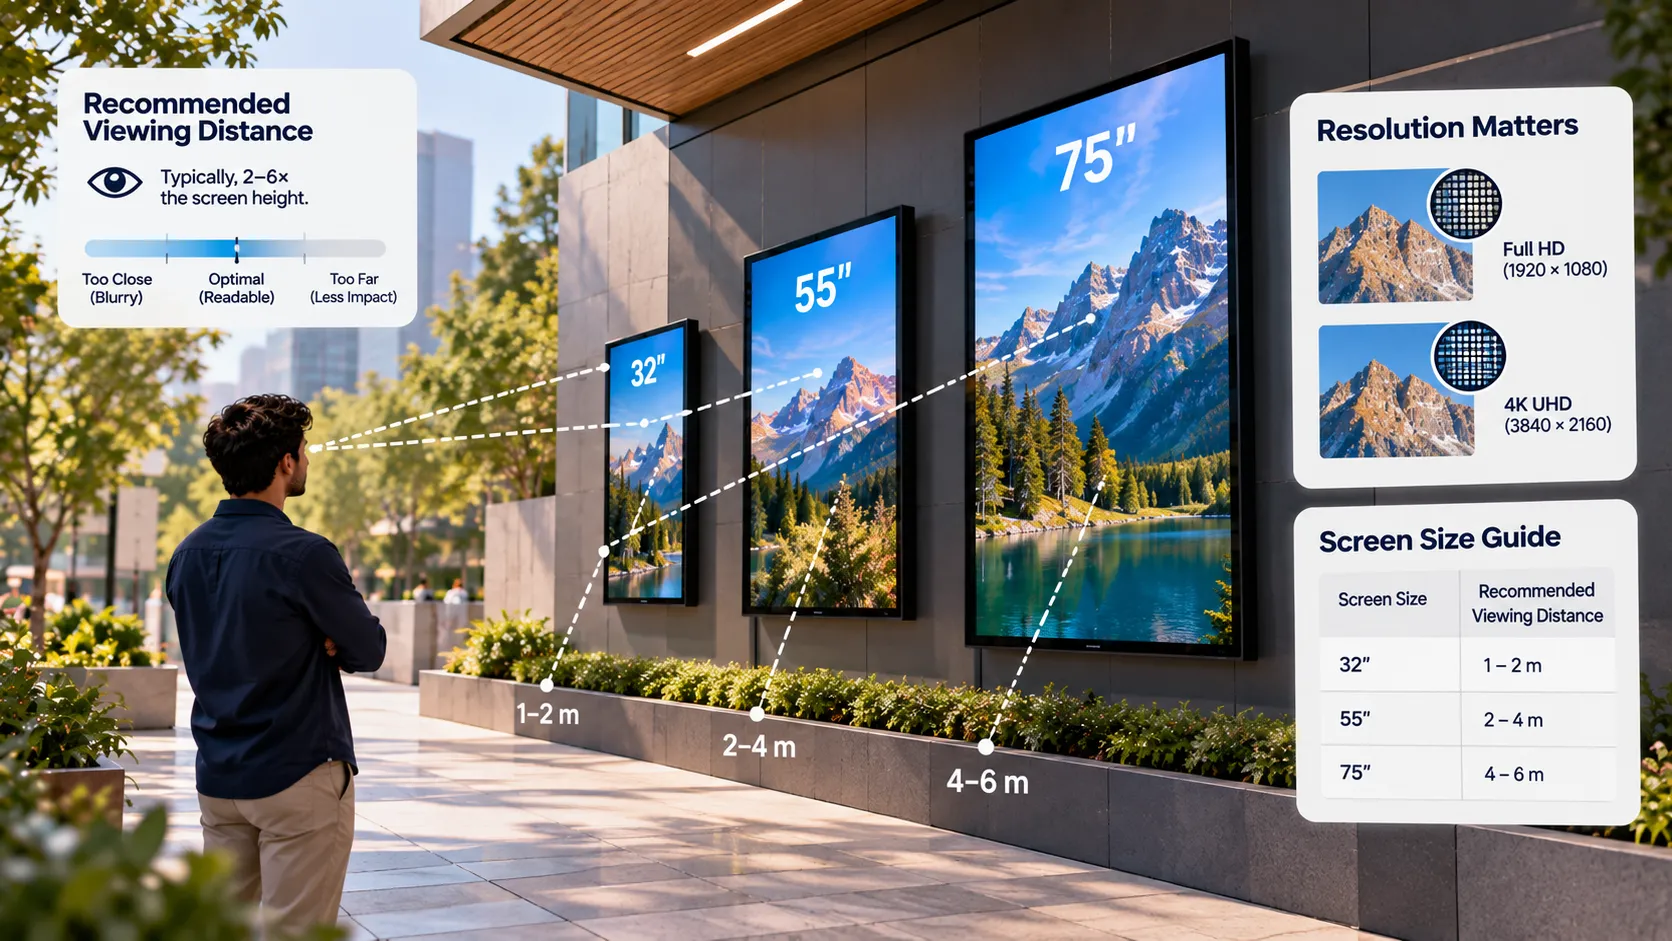
Screen Size, Resolution and Viewing Distance for Digital Signage
How to choose the right screen size, resolution, brightness and orientation for digital signage, using viewing distance and the room you're installing in.
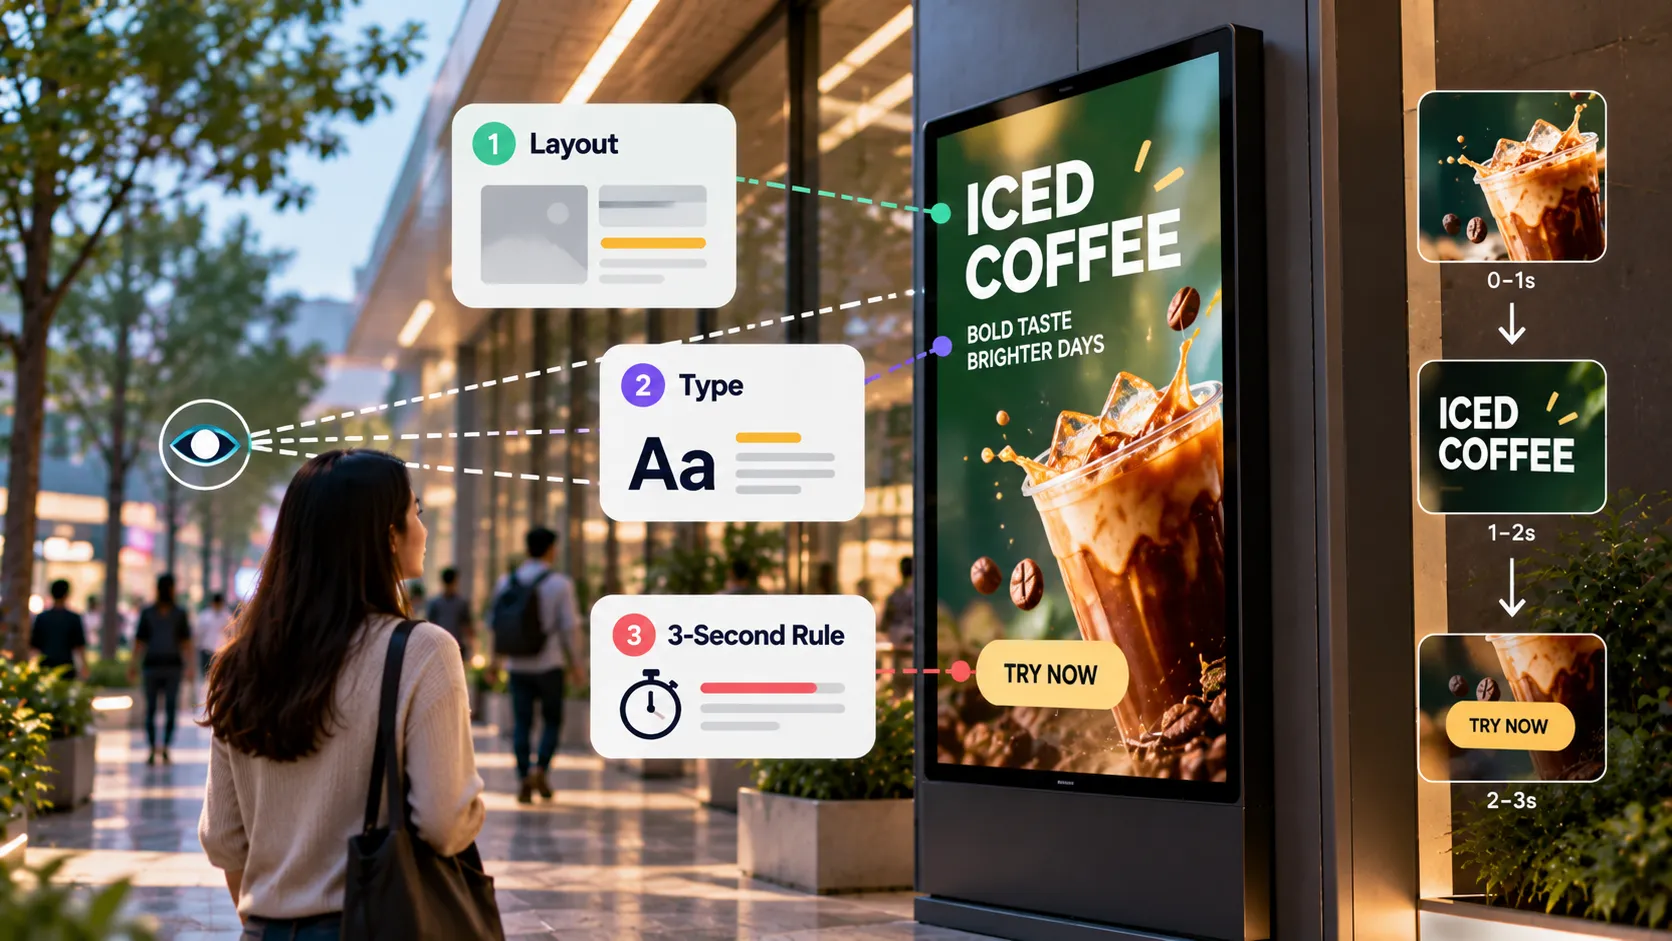
Designing Digital Signage Content: Layout, Type and the 3-Second Rule
Design rules for digital signage content — the 3-second rule, type size, contrast, layout, motion, video length and file formats that play smoothly.
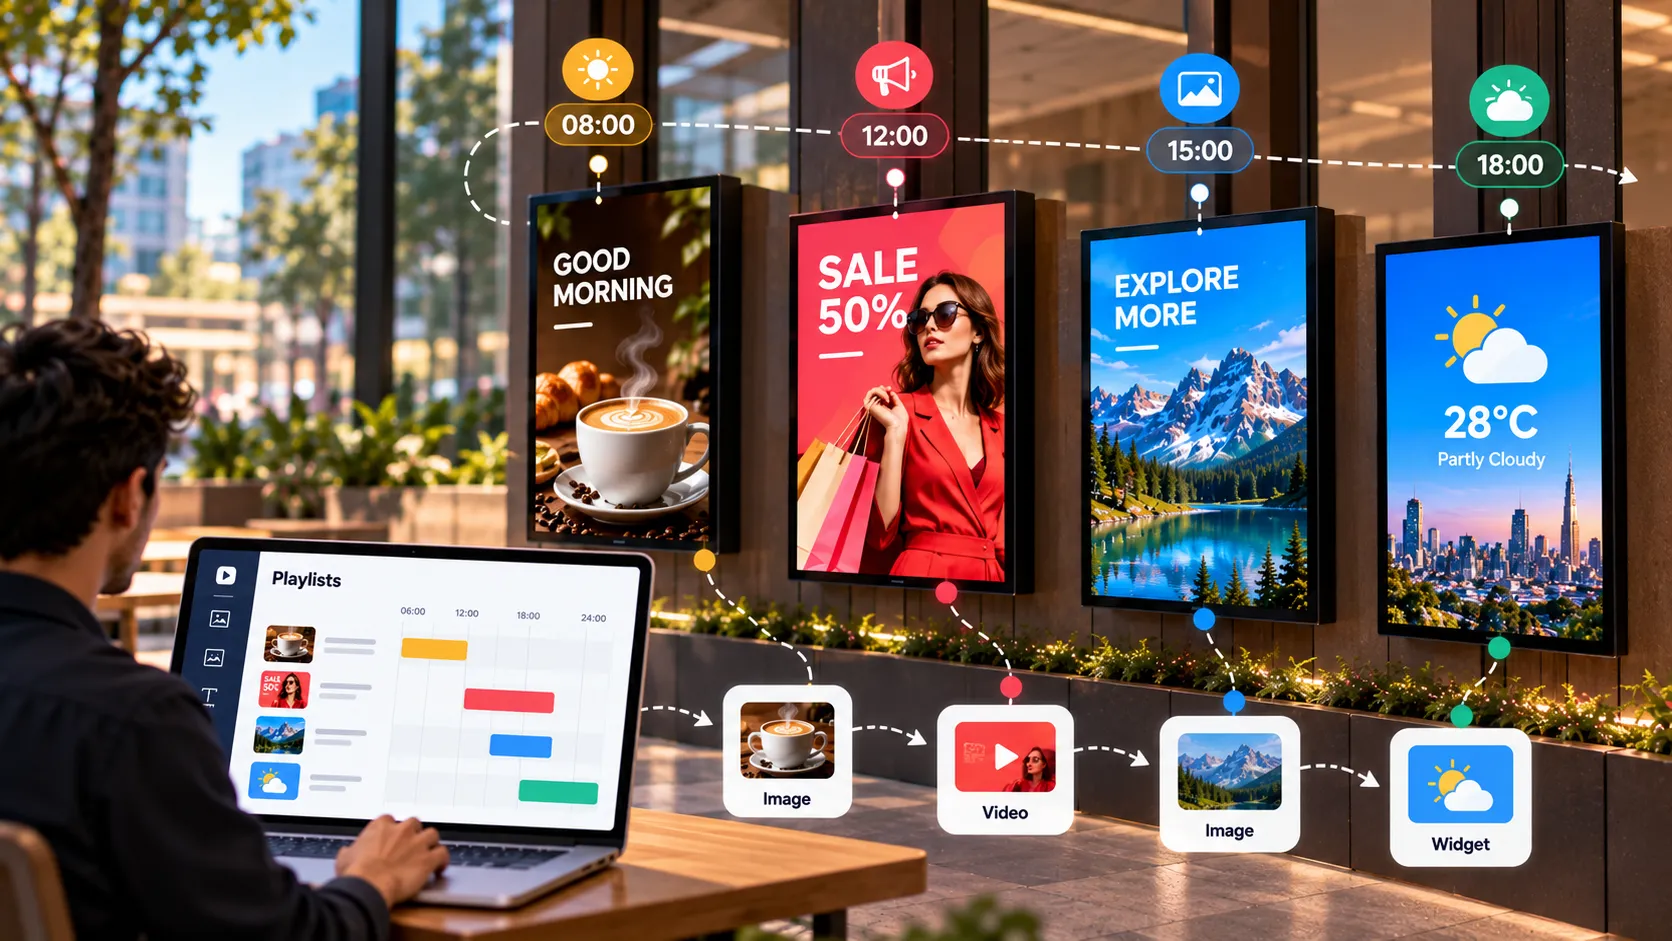
The Complete Guide to Playlists and Scheduling in Digital Signage
How digital signage playlists and schedules work — building playlists, setting durations, dayparting, publishing to groups and covering schedule gaps.