
Digital Menu Boards: A Practical Guide for Restaurants and Cafés
How digital menu boards work, what they cost to run, how to plan screens and dayparts, and the layout rules that help guests order faster and spend more.
On this page
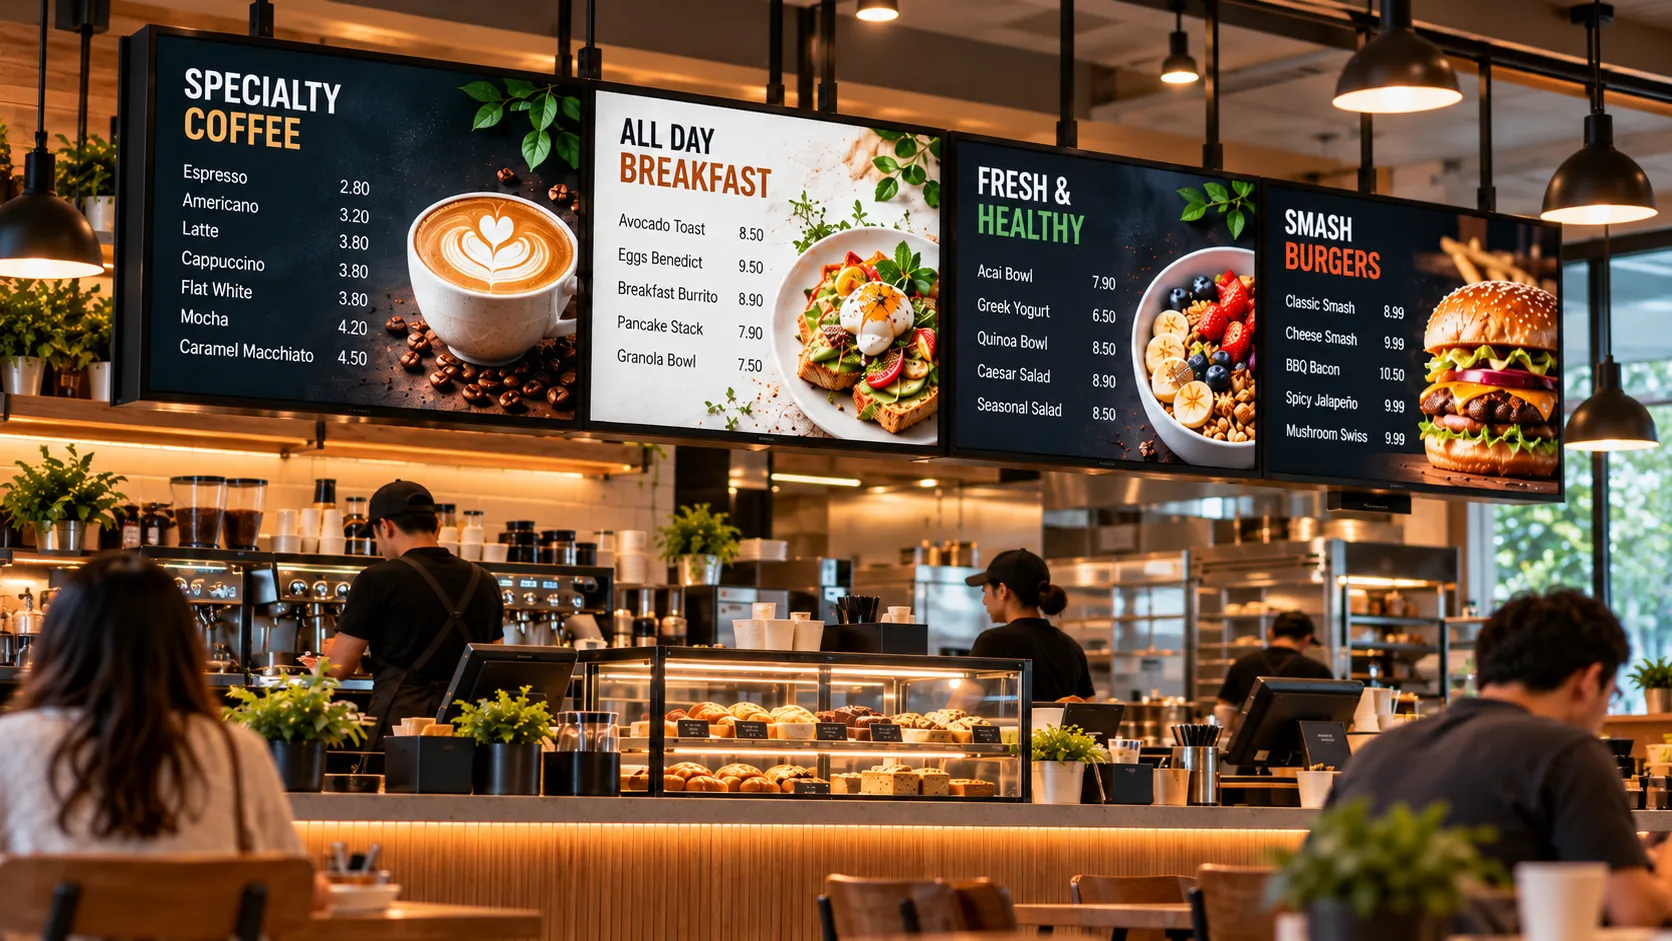
A digital menu board is a screen above your counter that shows your menu from signage software instead of from printed panels. You change an item, a price or a promotion once in the dashboard, and every screen in every location updates — no reprints, no ladders, no stickers over last month’s price.
Why restaurants are replacing printed menus
Printed menus are cheap until something changes. And in food service, something always changes.
- Items sell out. A digital board can hide a sold-out special in seconds, before the next guest orders it and the counter team has to apologise.
- Prices move. Ingredient costs shift through the year. Updating a price on screens is a two-minute job, not a print order.
- Menus change by time of day. Breakfast, lunch, afternoon and late-night menus can switch automatically on a schedule.
- Promotions need to look fresh. A limited-time offer on a moving, well-lit screen gets noticed in a way a laminated poster does not.
For multi-location brands there is a second win: consistency. Head office publishes the core menu once and every store shows the same prices and photography on the same morning.
What you need
| Part | What it does | Notes |
|---|---|---|
| Screens | Show the menu | Commercial displays are rated for long daily hours and higher brightness |
| Media player | Runs the signage app | Samsung Tizen and LG webOS commercial panels have one built in |
| Signage CMS | Where you build and schedule menus | Loopvew runs in the browser; players pair with an on-screen code |
| Network | Delivers updates | Wired ethernet is the most reliable; content is cached for offline playback |
If your displays can’t run apps, add an Android, Windows or Linux player behind each screen.
Plan your screens before you design them
Walk the guest journey from the door to the pickup point and decide what each screen is for.
- Pre-order or queue screen — the hero offer and combo meals, while guests are still deciding.
- Main menu screens — one category per screen (burgers, drinks, sides) so nobody hunts across panels.
- Promotion screen — a rotating playlist of offers, new items and loyalty prompts.
- Pickup screen — order-ready messages or brand content for guests who are waiting.
A three-screen counter commonly runs menu, menu, promotion. The promotion screen is the one that moves; the menu screens stay still so guests can read them.
Layout rules that help guests order faster
- Readable from the back of the queue. Prices and item names should be legible from the furthest point a guest orders from. When in doubt, cut items rather than shrink the text.
- Motion only where you want eyes. Animate the promotion, not the price list. Constant movement on a menu makes it harder to read.
- Photography for the items you want to sell. Give the highest-margin items the biggest photo and the top-left or centre position.
- Group and anchor. Put combos first, then singles, then add-ons. A clear structure speeds decisions at the counter.
- Portrait for tall categories. Drinks and dessert lists often fit better on a vertical screen — see how to set up a portrait screen.
Dayparting — the feature that pays for itself
Dayparting means showing different content at different times of day. In Loopvew you build a playlist per menu and schedule each one to a time window, so the breakfast board goes live at opening and switches to lunch at 11 without anyone touching a screen. The scheduling tutorial walks through it step by step.
What it costs to run
Software is priced per screen. On Loopvew the first three screens are free forever, and additional screens are ₹399 per screen per month, or ₹359 billed yearly, with volume discounts as you grow. Hardware is bring-your-own: you pay whatever your screen and player cost, with no markup. Our digital signage cost guide breaks down the full picture.
Getting started
Start with one location and one board. Pair the screen, publish your current menu, and run one dayparted schedule for a week. Once the team trusts it, roll the same playlists out to every store. Follow the menu board tutorial to build your first one, or read how Loopvew supports restaurants.
Written by the Loopvew TeamThe people who build and support Loopvew's digital signage CMS and players. About Loopvew
Frequently asked questions
Keep reading.
More from the blog, picked by topic.
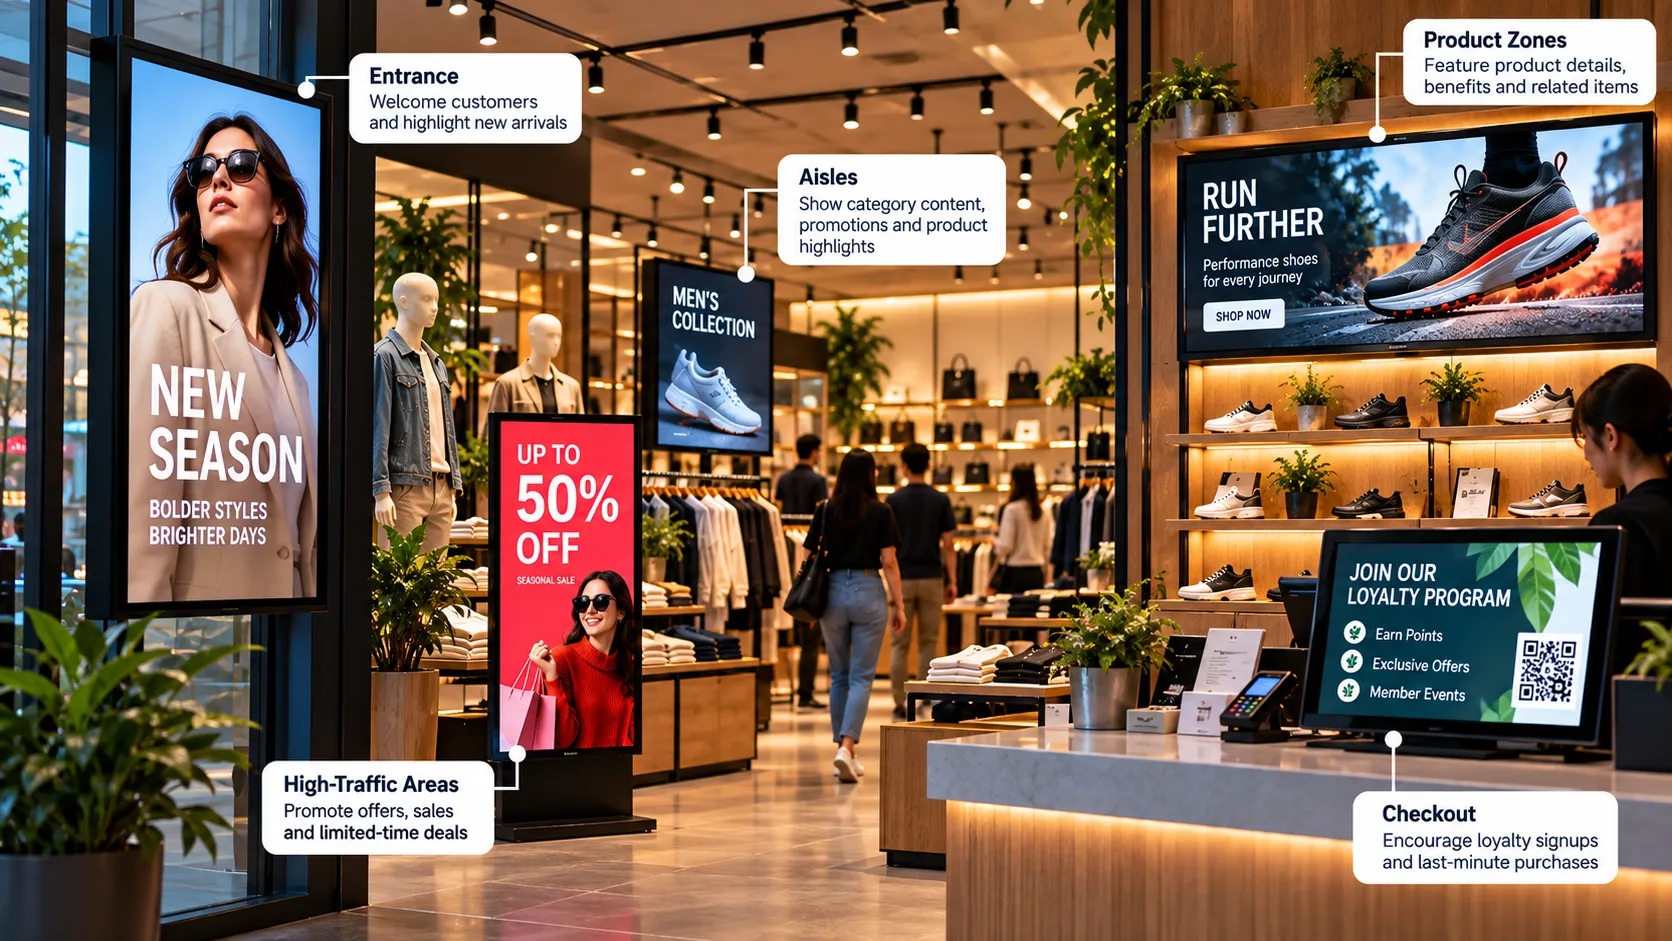
Retail Digital Signage: Where to Place Screens and What to Show
Where to place retail digital signage, what to show at each spot, and how store chains keep every location on-brand from one dashboard.
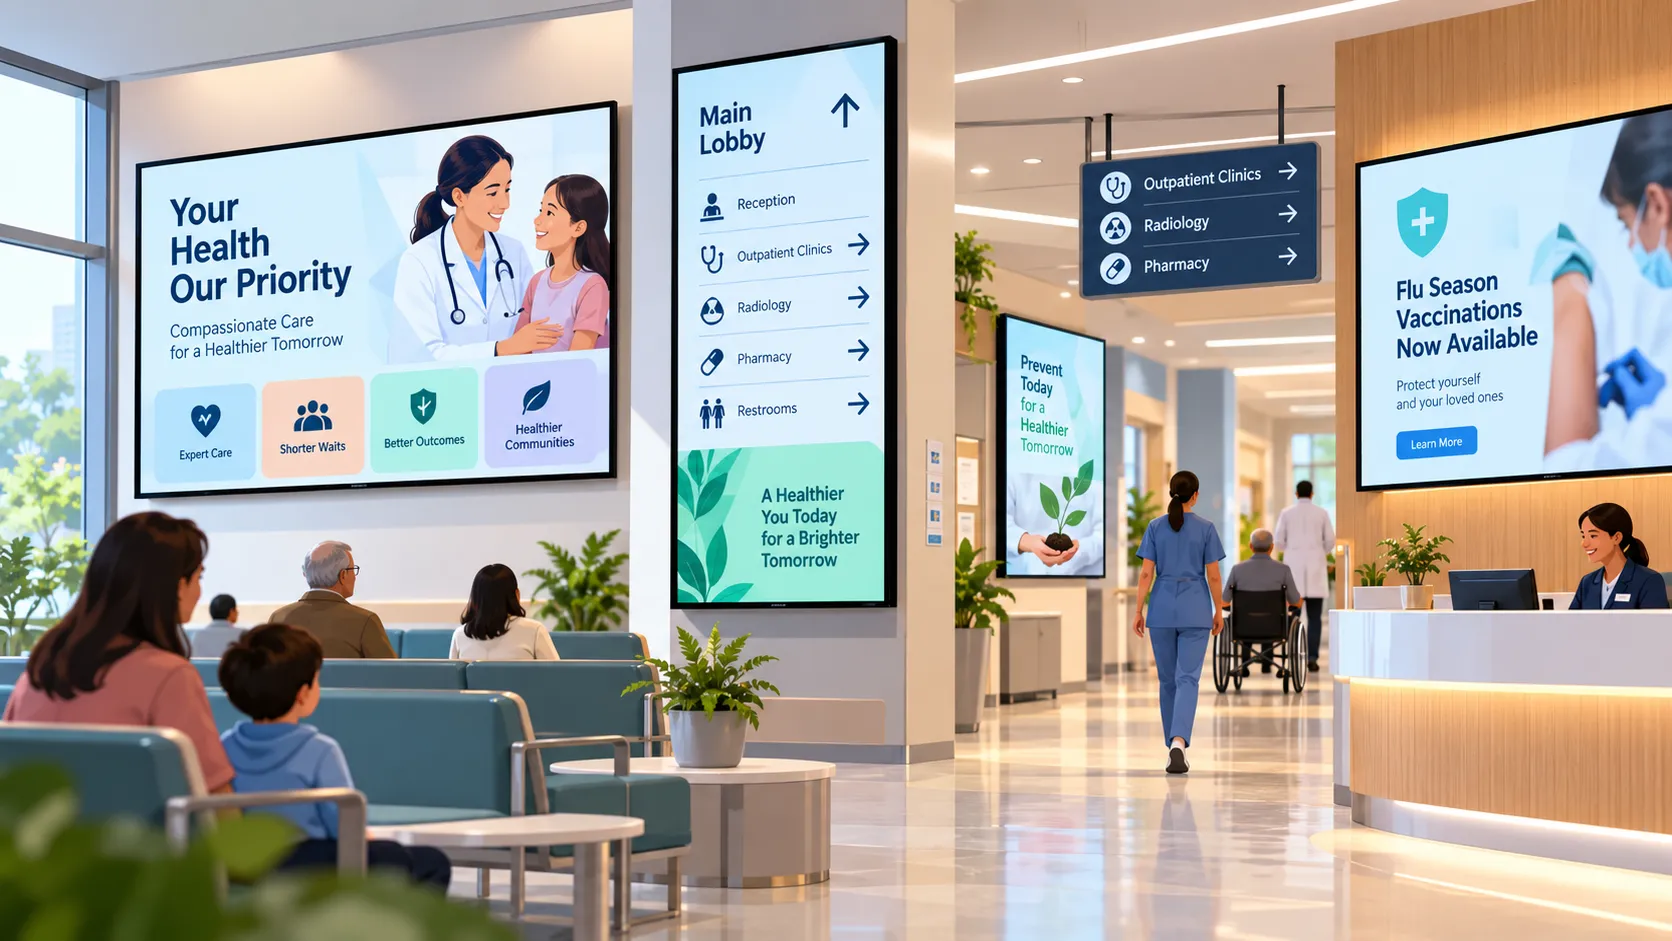
Digital Signage for Hospitals and Clinics: Calmer Waits, Clearer Wayfinding
How hospitals, clinics and pharmacies use digital signage for wayfinding, waiting rooms, queue updates and staff messaging — and what to plan first.
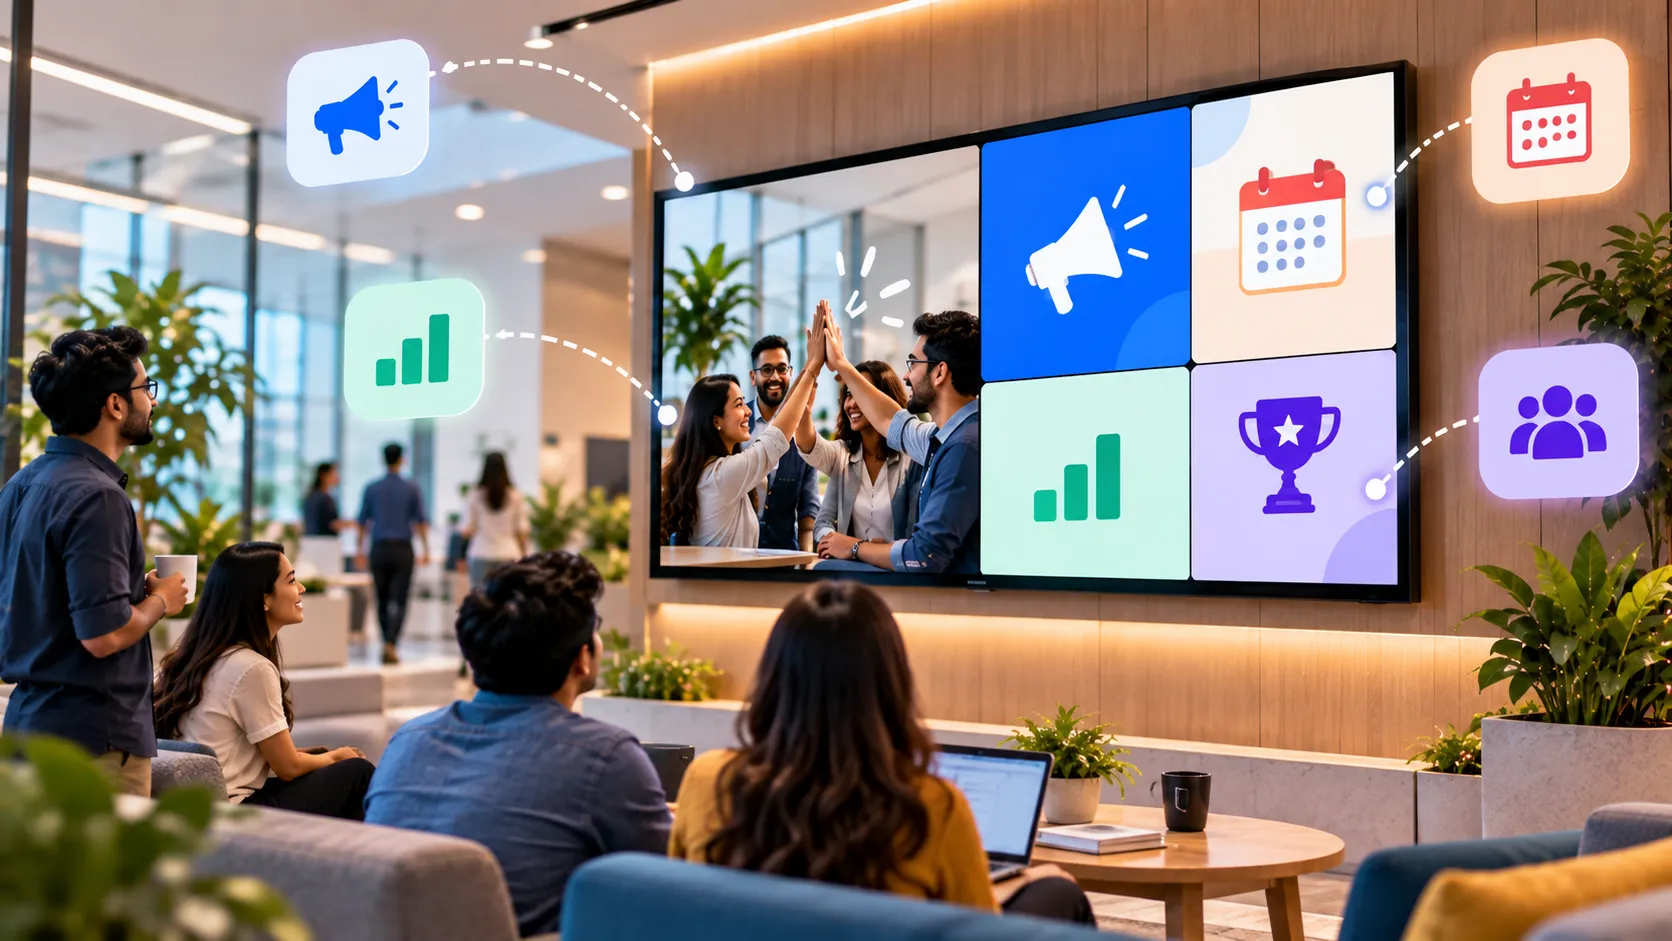
Office Digital Signage: A Playbook for Internal Communications
How offices use digital signage for internal communications — what to show in lobbies, kitchens and shop floors, and how to keep screens worth watching.