
What Is Digital Signage? The Complete Beginner's Guide
A plain-English guide to digital signage — what it is, the hardware and software you need, and how a screen, player and CMS work together.
On this page
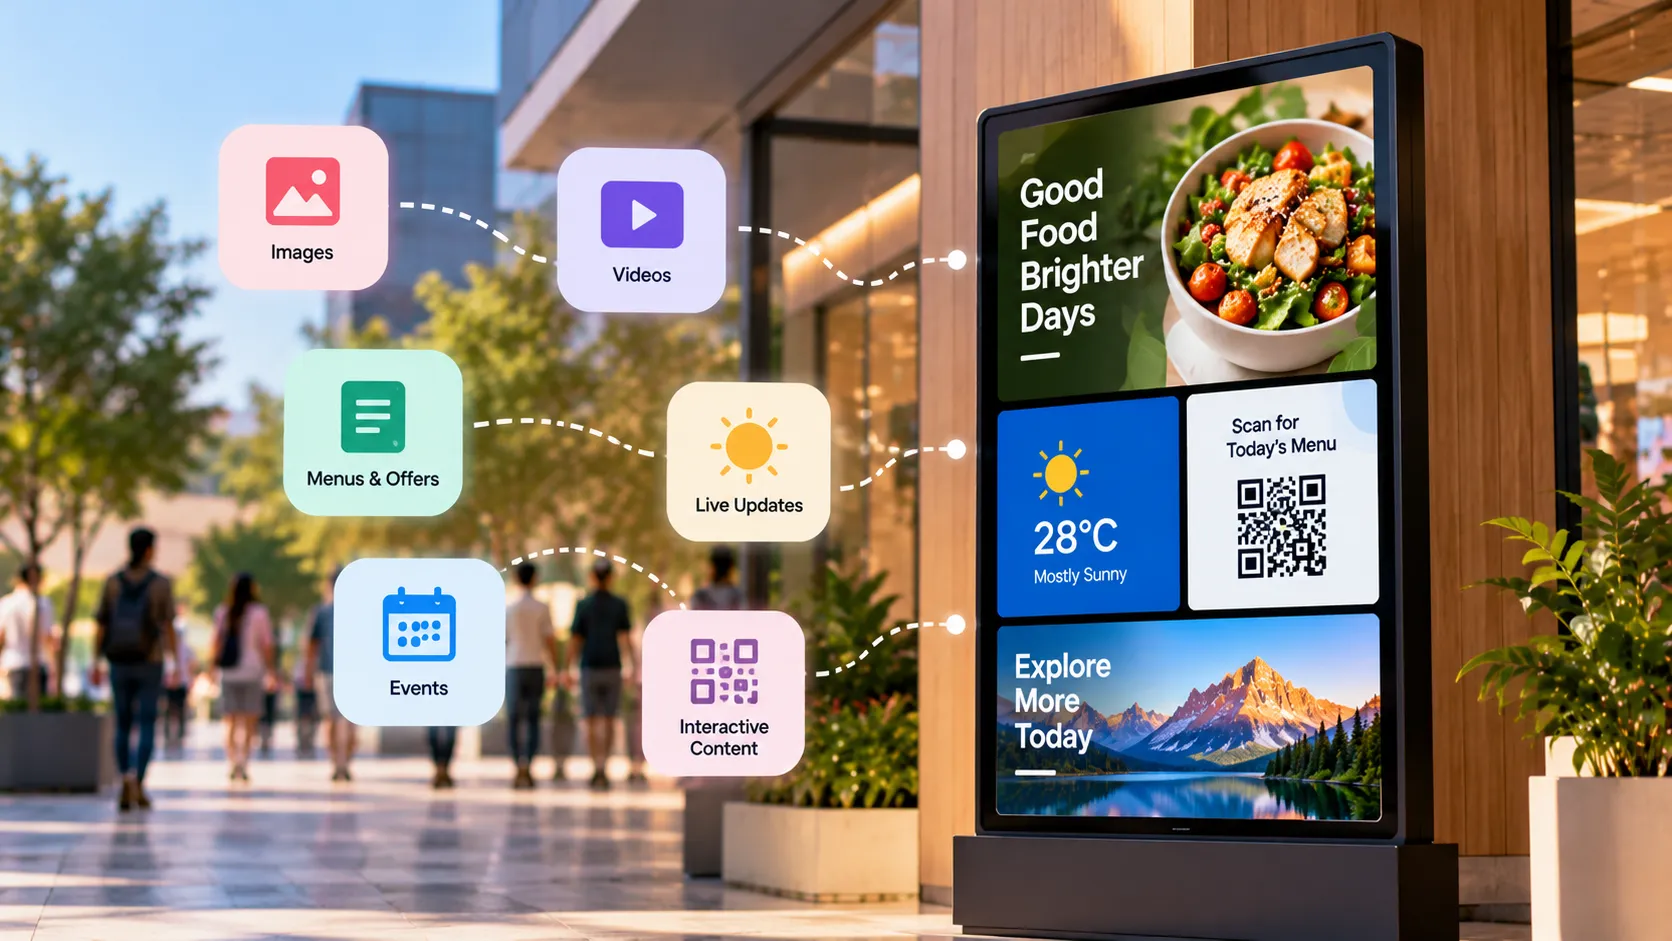
Digital signage is a screen that shows managed content — menus, promotions, dashboards, or announcements — controlled remotely from software instead of printed by hand. One person can change what hundreds of screens show, from a browser, in minutes.
Where you see digital signage
You pass dozens of digital signs every week:
- Restaurants — menu boards above the counter.
- Retail — window promotions, aisle-end offers and checkout screens.
- Healthcare — waiting-room information and wayfinding.
- Offices — reception welcome screens and internal news.
- Transport — departure boards and service updates.
- Education — campus notices and event listings.
The three pieces
Every digital signage system, from one screen to ten thousand, has the same three parts.
1. The screen
Any TV or commercial display. Commercial displays are built to run all day, get brighter and often include a built-in signage platform. Consumer TVs are cheaper but typically rated for fewer hours per day. Our screen size guide explains how to choose.
2. The media player
The device that actually plays content. It can be:
- Built in — Samsung Tizen and LG webOS commercial displays run the Loopvew player natively.
- External — a small Android, Windows or Linux device behind the screen, connected over HDMI.
See choosing a media player for the trade-offs.
3. The CMS
The content management system is the software where you upload media, build playlists, set schedules and publish to screens. A cloud CMS like Loopvew runs in the browser, so you can manage screens in any location without being on site.
How it fits together
- Install the Loopvew player on your device.
- Pair the screen by entering the 6-digit code it shows into the CMS.
- Upload images and videos to the media library.
- Build a playlist and set how long each item plays.
- Schedule and publish — to one screen or a whole group.
Publish once and it reaches every paired screen automatically. Players cache content, so screens keep playing through network outages and sync when the connection returns.
What you can show
- Images and videos you upload.
- Live widgets — weather, clock, news feeds, YouTube, live streams, calendars, social feeds and web dashboards.
- Multi-zone layouts that combine them, such as a video with a news ticker underneath.
Need inspiration? Browse 30 content ideas.
Digital signage vs printed signs
| Printed | Digital | |
|---|---|---|
| Changing content | Reprint and replace | Edit and publish |
| Time-based content | Not practical | Scheduled automatically |
| Many locations | One print run per site | One publish for every site |
| Live information | Not possible | Weather, news, dashboards |
| Upfront cost | Low | Higher — screen and player |
| Ongoing cost | Every change costs | Software subscription |
Cloud or on-premise?
Most teams choose a cloud CMS for speed and simplicity. Organisations whose policies forbid external hosting can run Loopvew on-premise on their own network instead. Our comparison explains when each makes sense.
Next steps
Ready to try it? See how to set up your first screen, explore solutions by industry and use case, or learn the vocabulary in the glossary.
Written by the Loopvew TeamThe people who build and support Loopvew's digital signage CMS and players. About Loopvew
Frequently asked questions
Keep reading.
More from the guides, picked by topic.
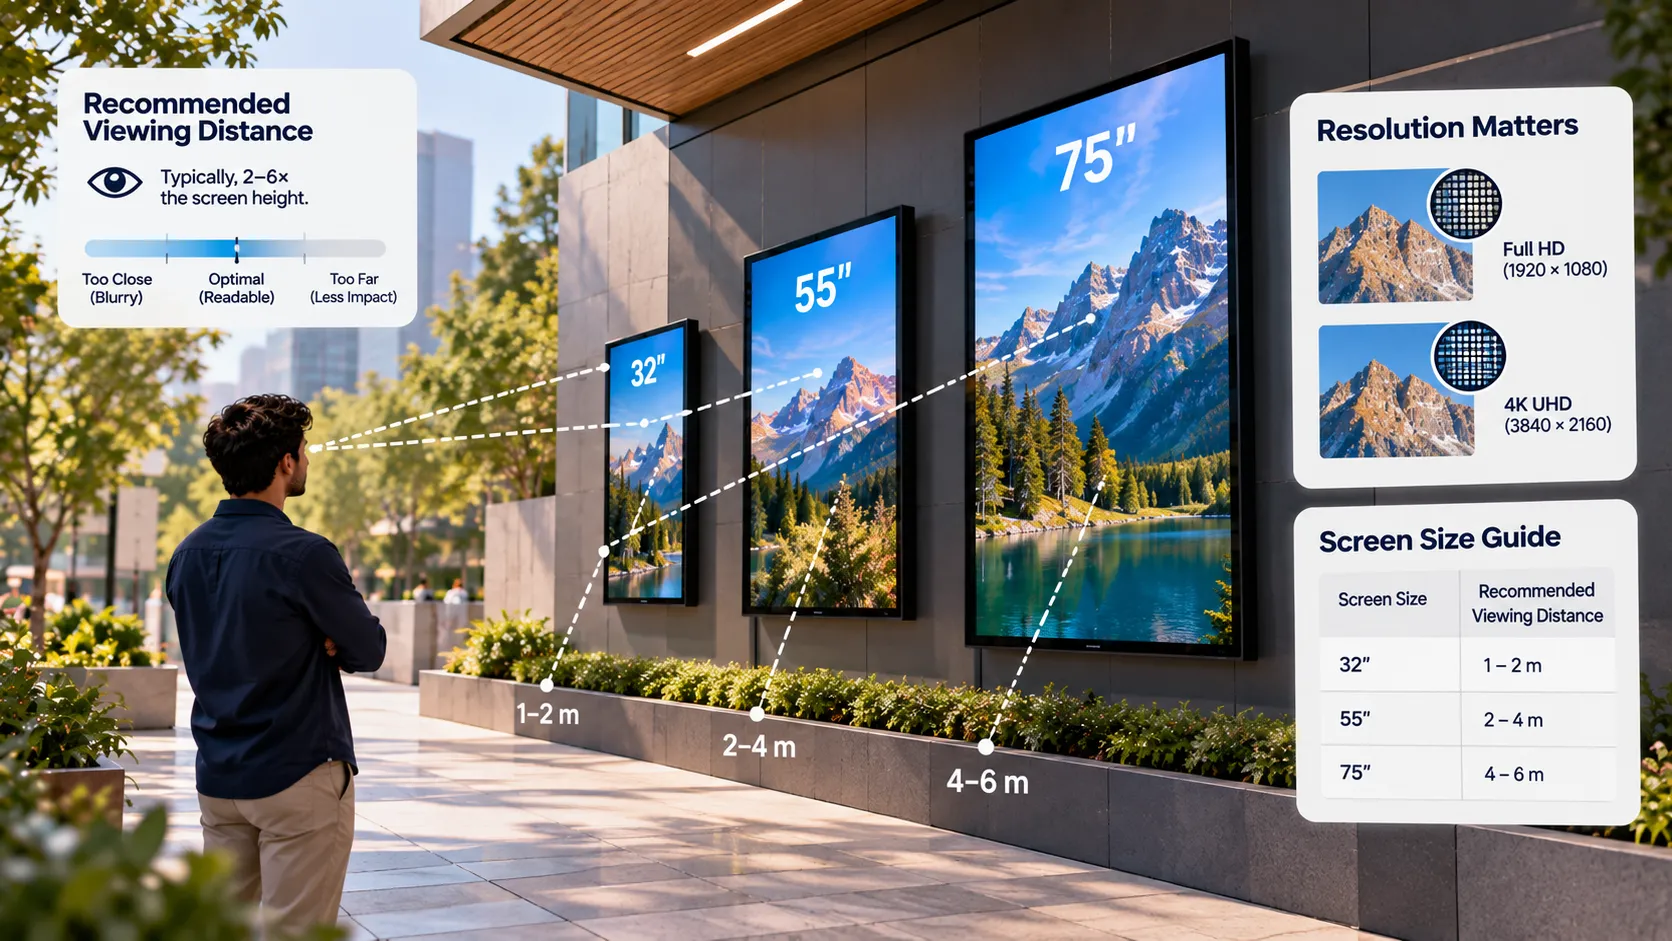
Screen Size, Resolution and Viewing Distance for Digital Signage
How to choose the right screen size, resolution, brightness and orientation for digital signage, using viewing distance and the room you're installing in.
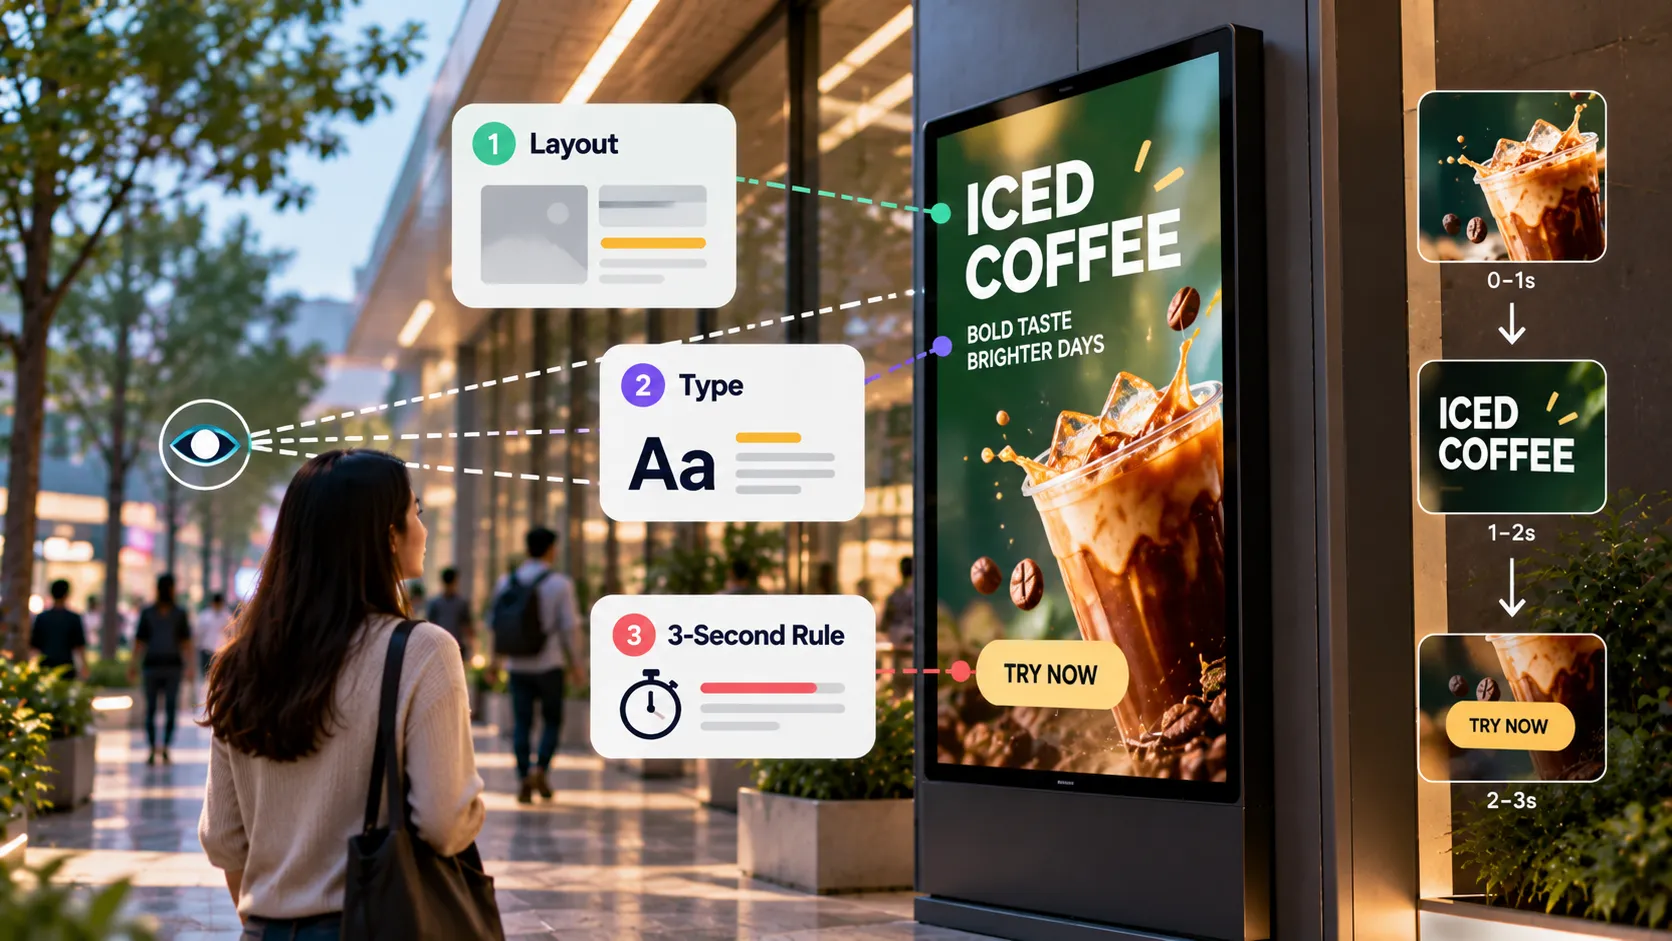
Designing Digital Signage Content: Layout, Type and the 3-Second Rule
Design rules for digital signage content — the 3-second rule, type size, contrast, layout, motion, video length and file formats that play smoothly.
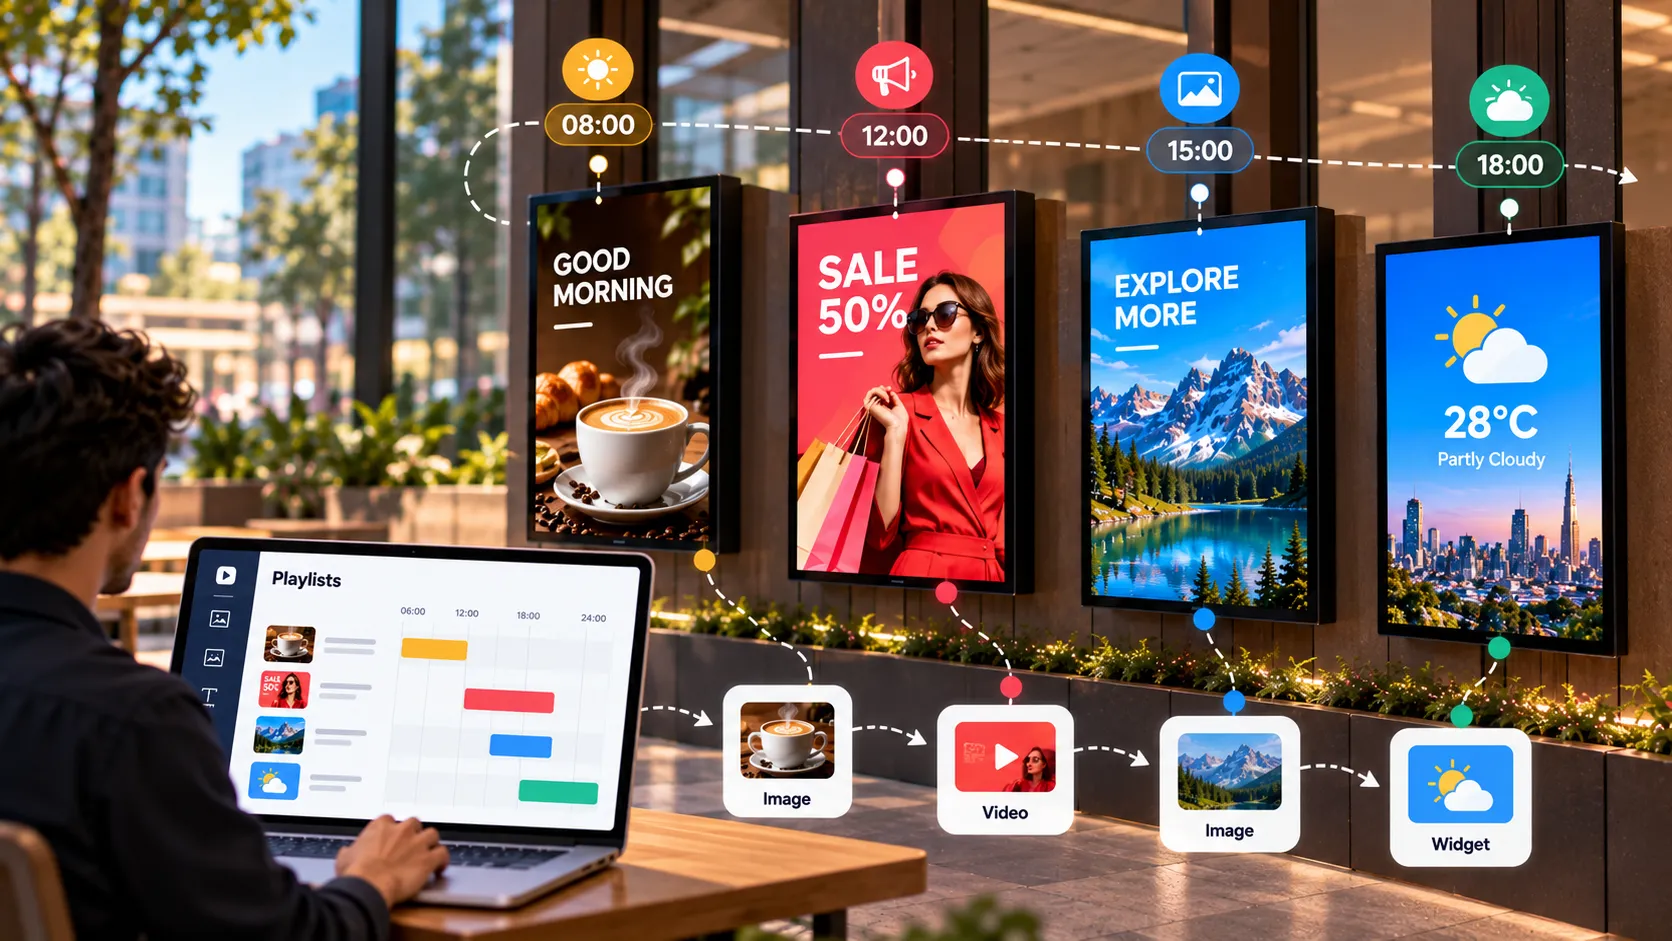
The Complete Guide to Playlists and Scheduling in Digital Signage
How digital signage playlists and schedules work — building playlists, setting durations, dayparting, publishing to groups and covering schedule gaps.